Do you want to compress a video on Mac? There are 2 very easy ways to do it. We mention it below.
Did you take that video you wanted so badly from the recent concert you went to? Excellent! But the problems will come later because surely the video weighs too much, so much that you will not be able to send it by email or even transfer it to other mobiles.
Is there a solution to it? yes, and it compresses a video from your mac. The good news is that this task can only be done using Apple software and that you probably already have it for free regardless of the version of your Mac.
How to Compress a Video on Mac Easier
The good news is that you do not need to download software of doubtful origin since to compress any video you only need to use Apple apps that you surely already have installed on your Mac: Quick Time Player and iMovie.
Also, we will offer you the most basic solutions, and that is easy to follow for any user. Here are the two methods:
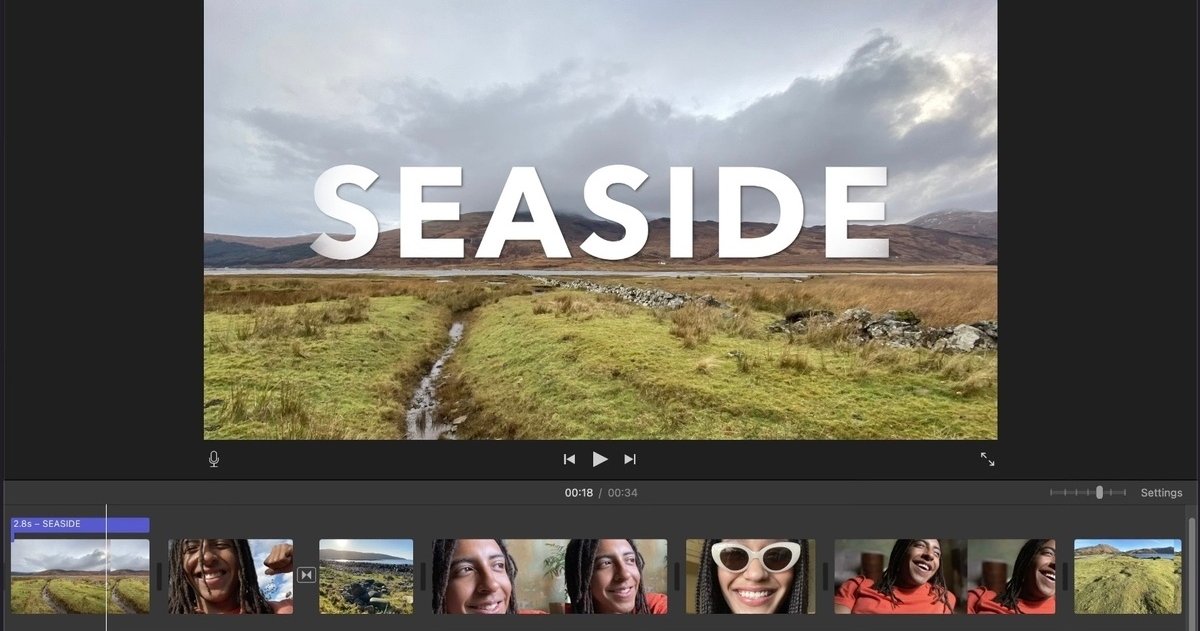
Method 1: Compress a video on Mac using iMovie
The first way to compress your videos is by using iMovie, which is probably already built into your Mac. This app is not only useful for editing in general it is a good tool to compress multiple files.
You do it in the following way:
- Launch iMovie on your Mac and choose the ‘create new’ option.
- Drag (or copy and paste) the video you want to compress. You can also go to the ‘File’ menu and then upload a video.
- Select ‘Share’ to start compressing the video.
- Choose one of the many options that it will show you according to what you need.
- Tap ‘File’ and compress your video in the ‘resolution and quality section.
- Click ‘Next’ to save your ready file.
Method 2: Compress a video on Mac using QuickTime Player
QuickTime Player is the default media player on Mac, and it supports various formats. It also gives you the opportunity to reduce the size of all your videos.
You do it in the following way:
- Launch QuickTime Player on your Mac.
- Select ‘File’ and upload the video you want to compress.
- Now click on ‘Export’. This section will allow you to change the video format and there are several such as UHD (4K), Full HD (1080p), HD (720p), SD (480p), or simply the audio.
- Once you have chosen the quality you need, click on ‘Export as.
- Choose a folder to save your new video shape, name it and click ‘Save’.
Also, you will be able to choose and trim only a part of the video and change its format, such as vertical for social networks or simply a box to upload it to your profiles.
Of course, keep in mind that these methods are basic, so if you need to do more specialized work, you will need other more powerful software like Final Cut Pro, but keep in mind that it has a high price.